# QuickBooks Online
TIP
This documentation only covers a few samples of possible integrations that can be done between Zapier and Skhokho and provides some sample ZAPS and Templates.
This is not an exhaustive list, use the documentation to see what is possible and create integrations that make sense for your business.
Use this automation to automate information between Quickbooks Online and Skhokho. Maybe you have an accountant who insists on using Quickbooks, but you do the majority of your Business operations on Skhokho, for whatever reason - this documentation will assist you in connecting Quickbooks Online data to Skhokho.
Example we will use is transferring Quickbooks Online invoices to Skhokho.
Use This Zap 👉🏽 Create Skhokho invoices from new Quickbooks Online rows (opens new window).
# Trigger: New Quickbooks Online Invoice
This automation will be triggered when a new invoice is added to Quickbooks Online. If you would like to transfer bulk invoices, please use Zapier Transfers (opens new window) instead.
This Zapier Trigger has 3 Steps: (1) Choose App & Event, (2) Choose Account, (3) Test Trigger.
- Choose App & Event
This section should look like this 👇🏽👇🏽👇🏽
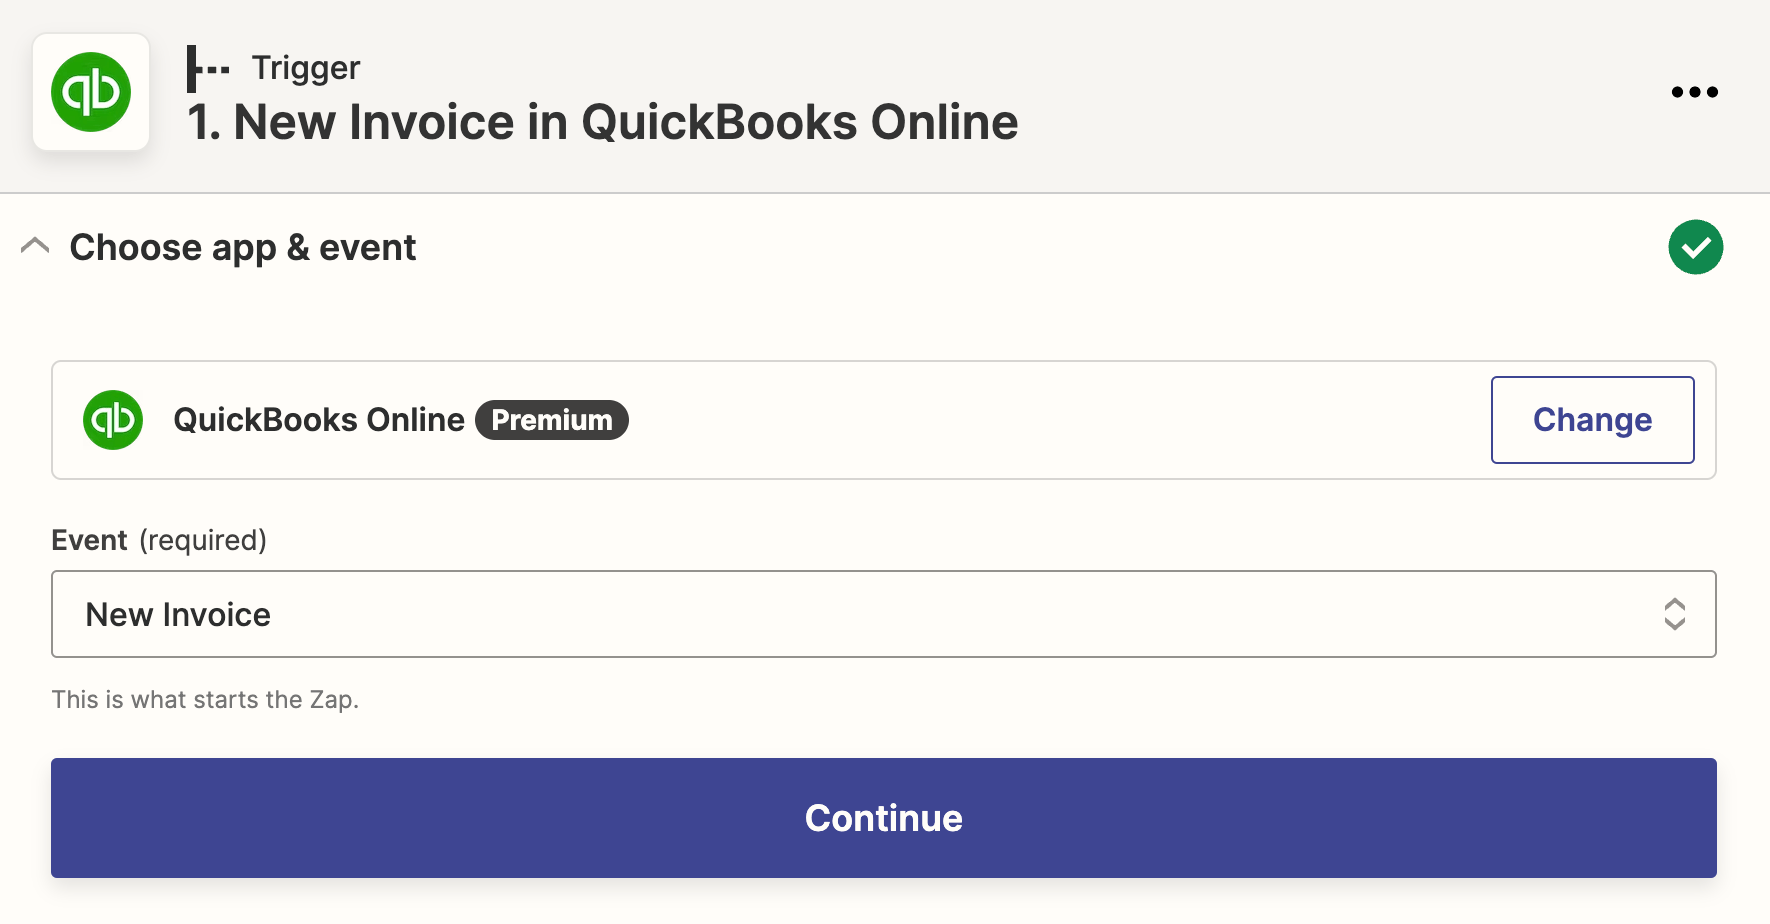
- The App is - QuickBooks Online
- The Trigger is - New Invoice
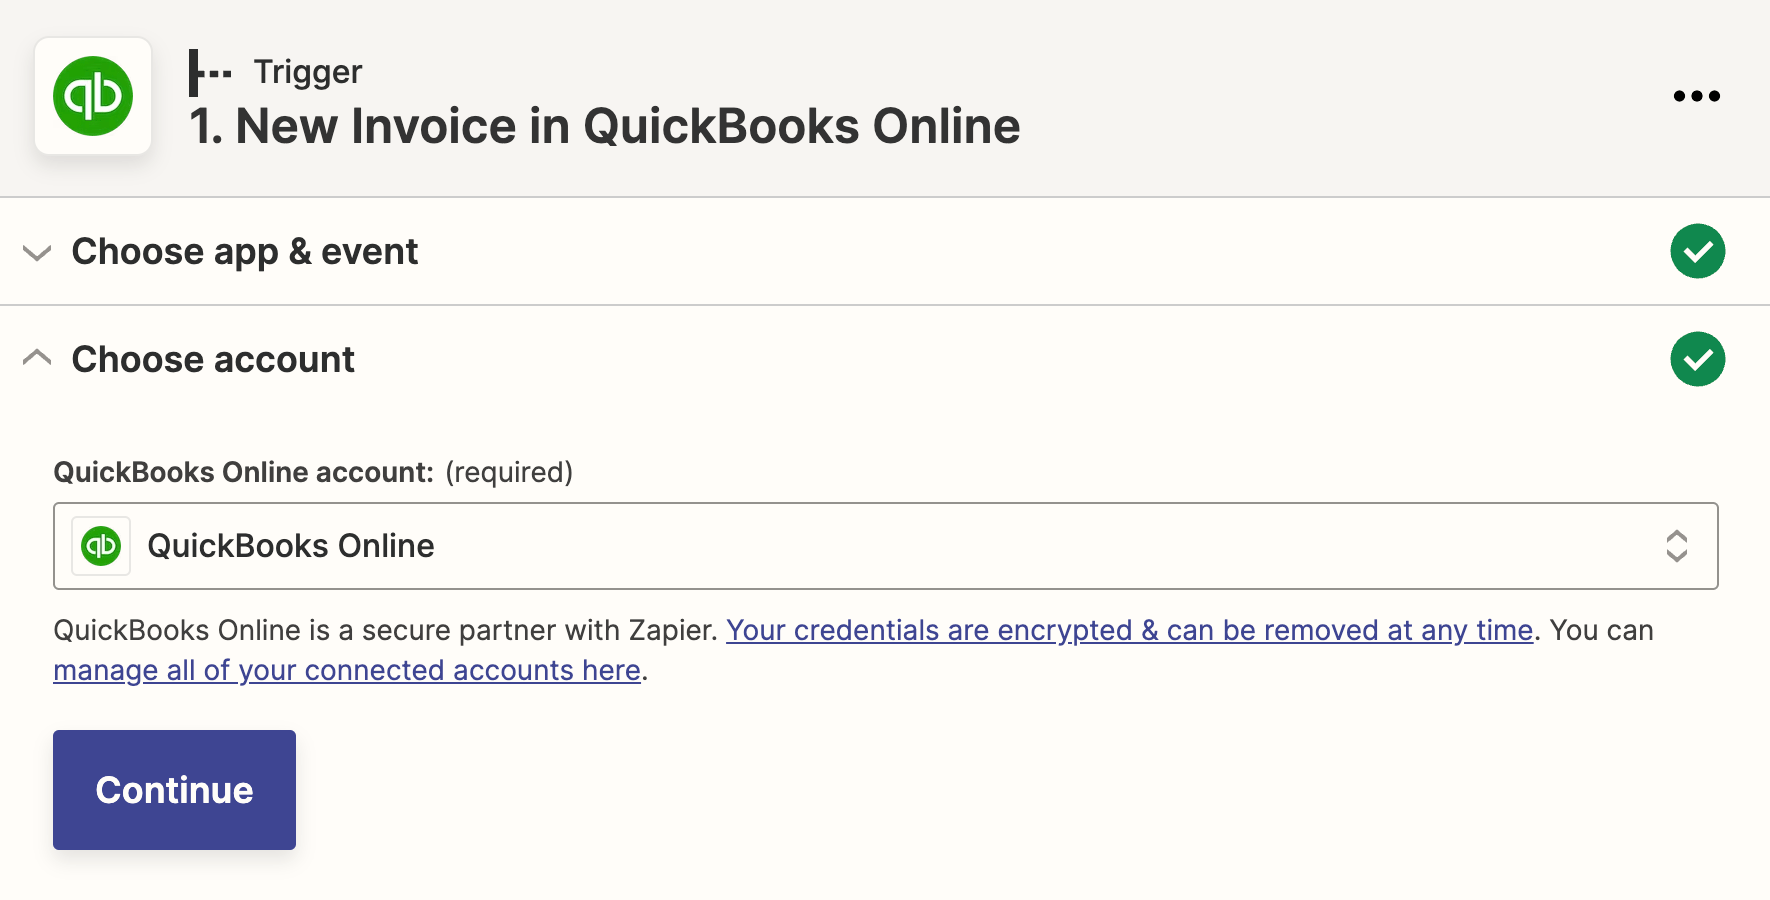
- Choose Account
Log in to your Quickbooks Online Account
- Test Trigger
Move to the next page and "test trigger". If everything is OK, you can move on to setting up the action.

TIP
if you have multiple invoices that you want to migrate to Skhokho, consider using Zapier Transfers. You can schedule transfers to run at given intervals, and they will move bulk data across applications. Read more about transfers here - https://zapier.com/transfer (opens new window)
# Action: Skhokho 👉🏽 Create New Invoice
Zapier Actions have 4 Steps: (1) Choose App & Event, (2) Choose Account, (3) Set-up Action and (4) Test Action.
Creating a New Invoice has two action steps:
- Action 1 - Creates a new invoice record
- Action 2 - Creates invoice line items for that invoice
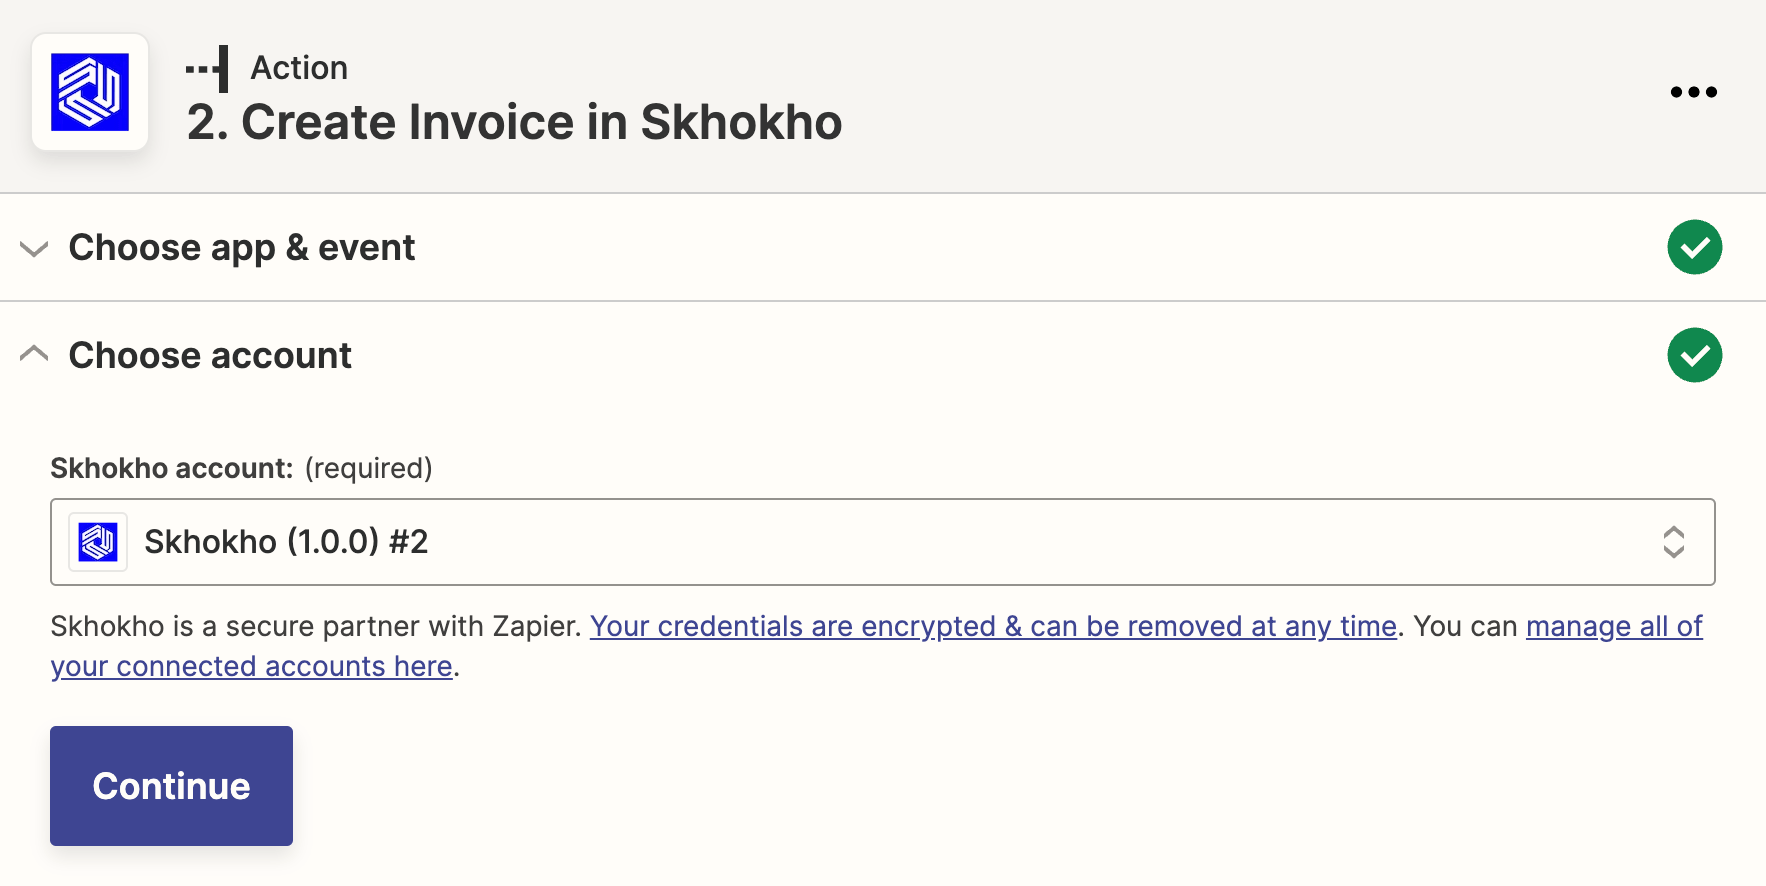
- Action 1: Choose App & Event
This section should look like this 👇🏽👇🏽👇🏽

- The App is - Skhokho
- The Action is - Create Invoice
- Action 1: Choose Account
Log in to your Skhokho Account (If you do not have one, you can create one for free here (opens new window).)
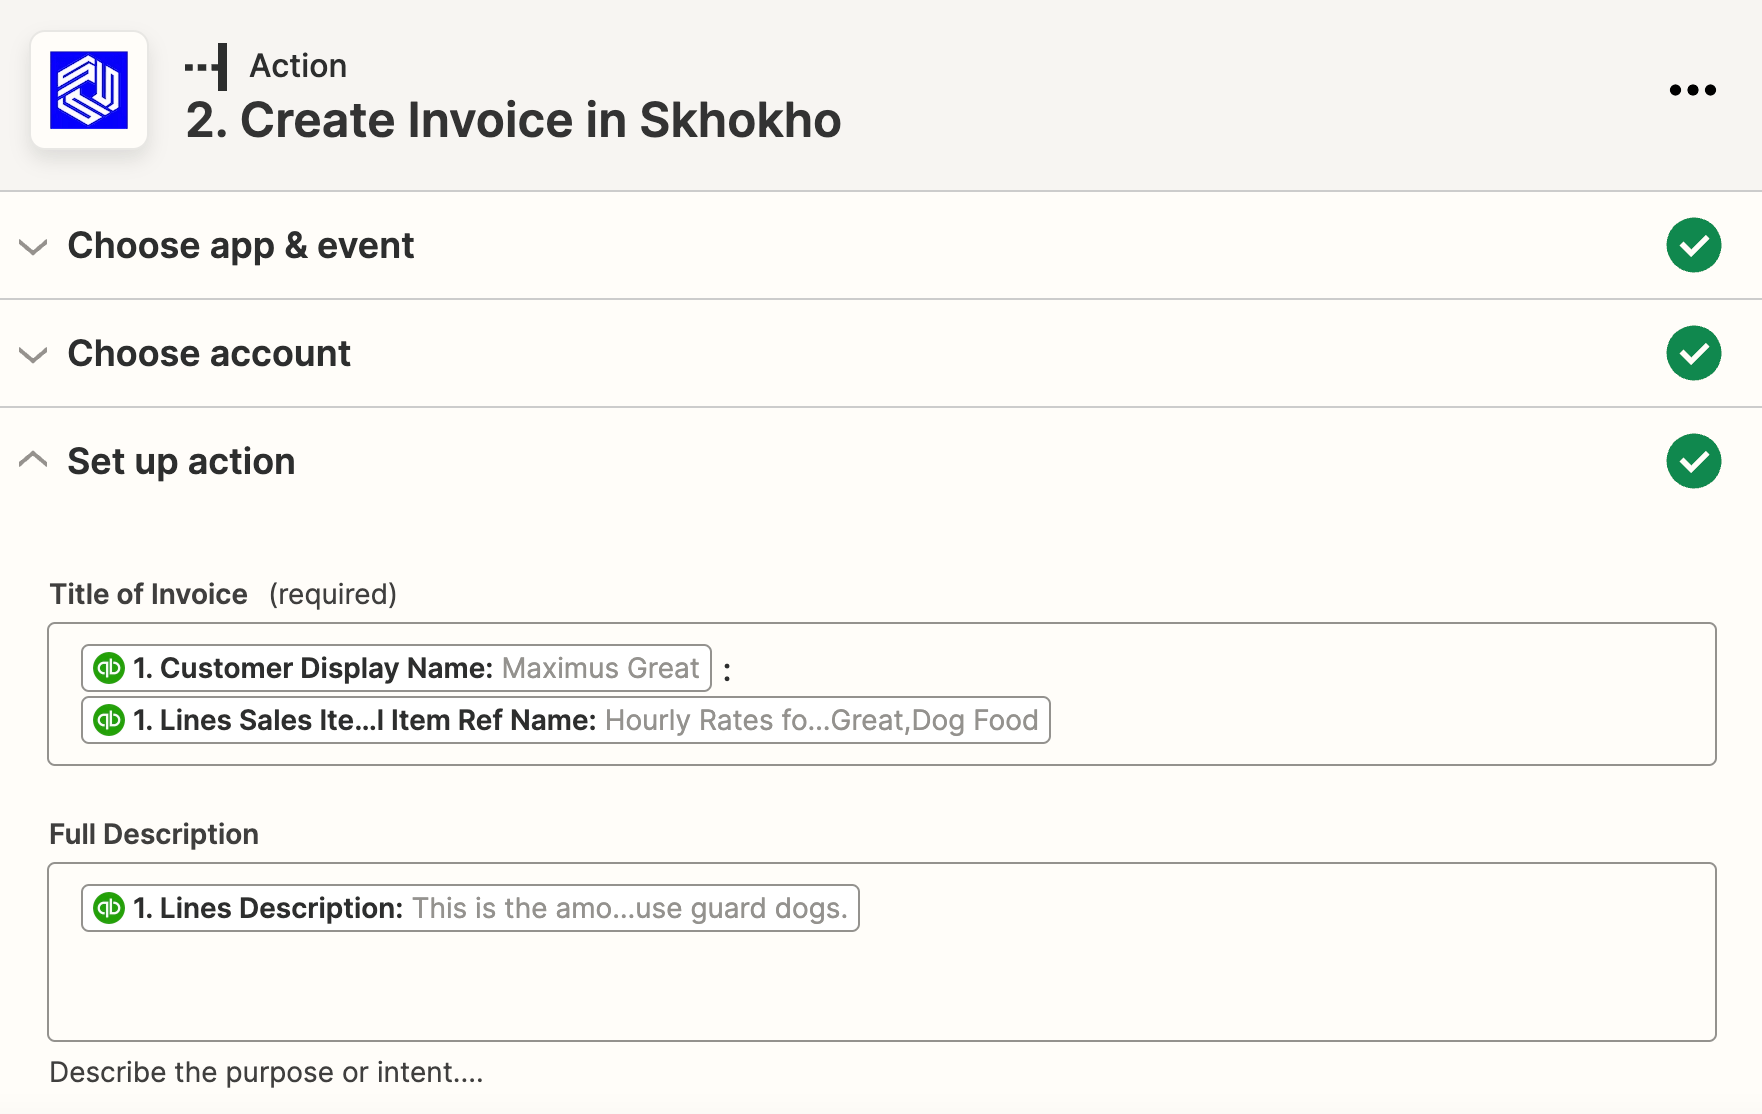
- Action 1: Set-up Action
Map all the required fields for Skhokho with available data from Quickbooks Online. Make sure the required sections are completed and select the appropriate drop-down options - where applicable.
- Action 1: Test Action
Test the action, you should see a green tick if all is well with your ZAP.
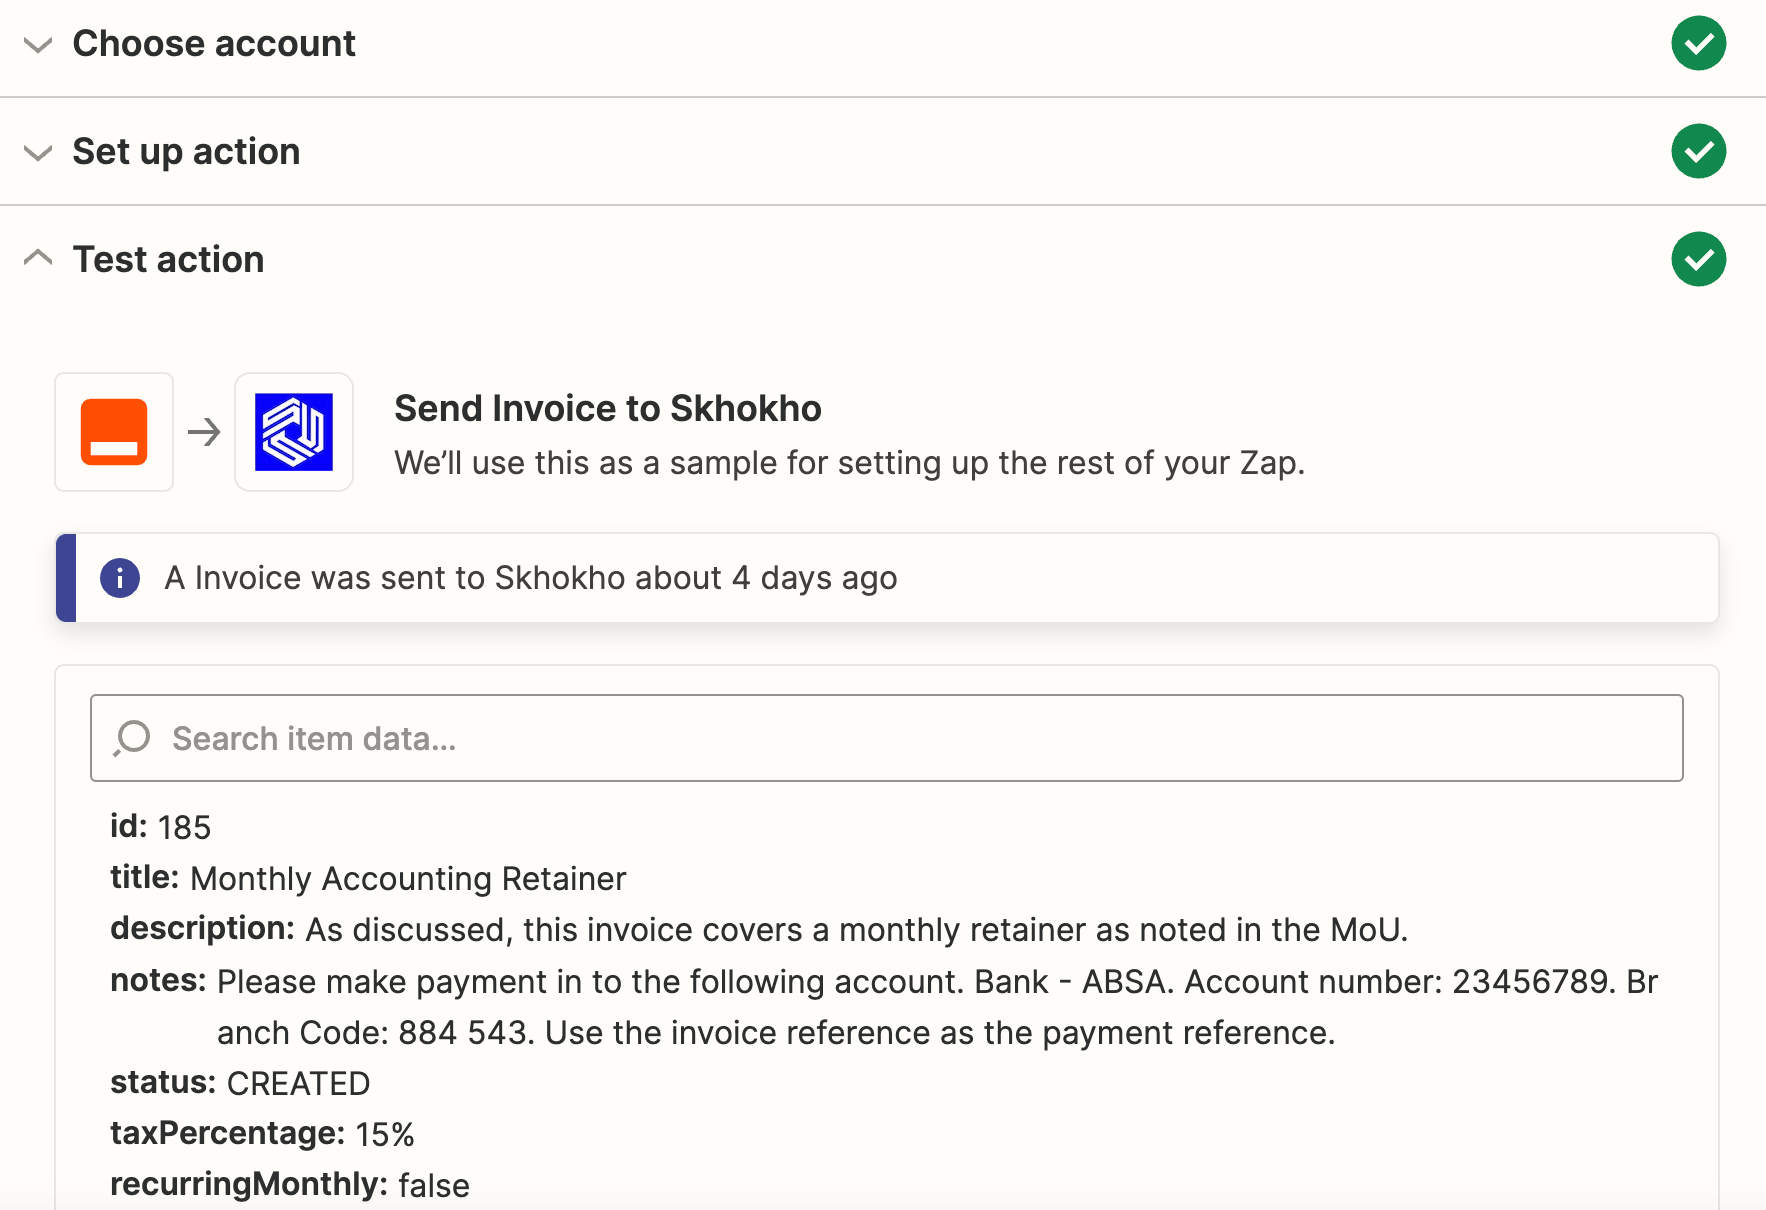
At this stage, your invoice will be created without line items. Invoice line items are added in the next action. You can use the same spreadsheet and just add line item data in columns after the invoice columns.
Create a new Invoice Line Items - Action Step to continue.
TIP
Action 2 depends on results from Action 1. The unique Id returned from Action 1 is used in the next step, therefore you should run the test to produce the uniqueId.
- Action 2: Choose App & Event
This section should look like this 👇🏽👇🏽👇🏽
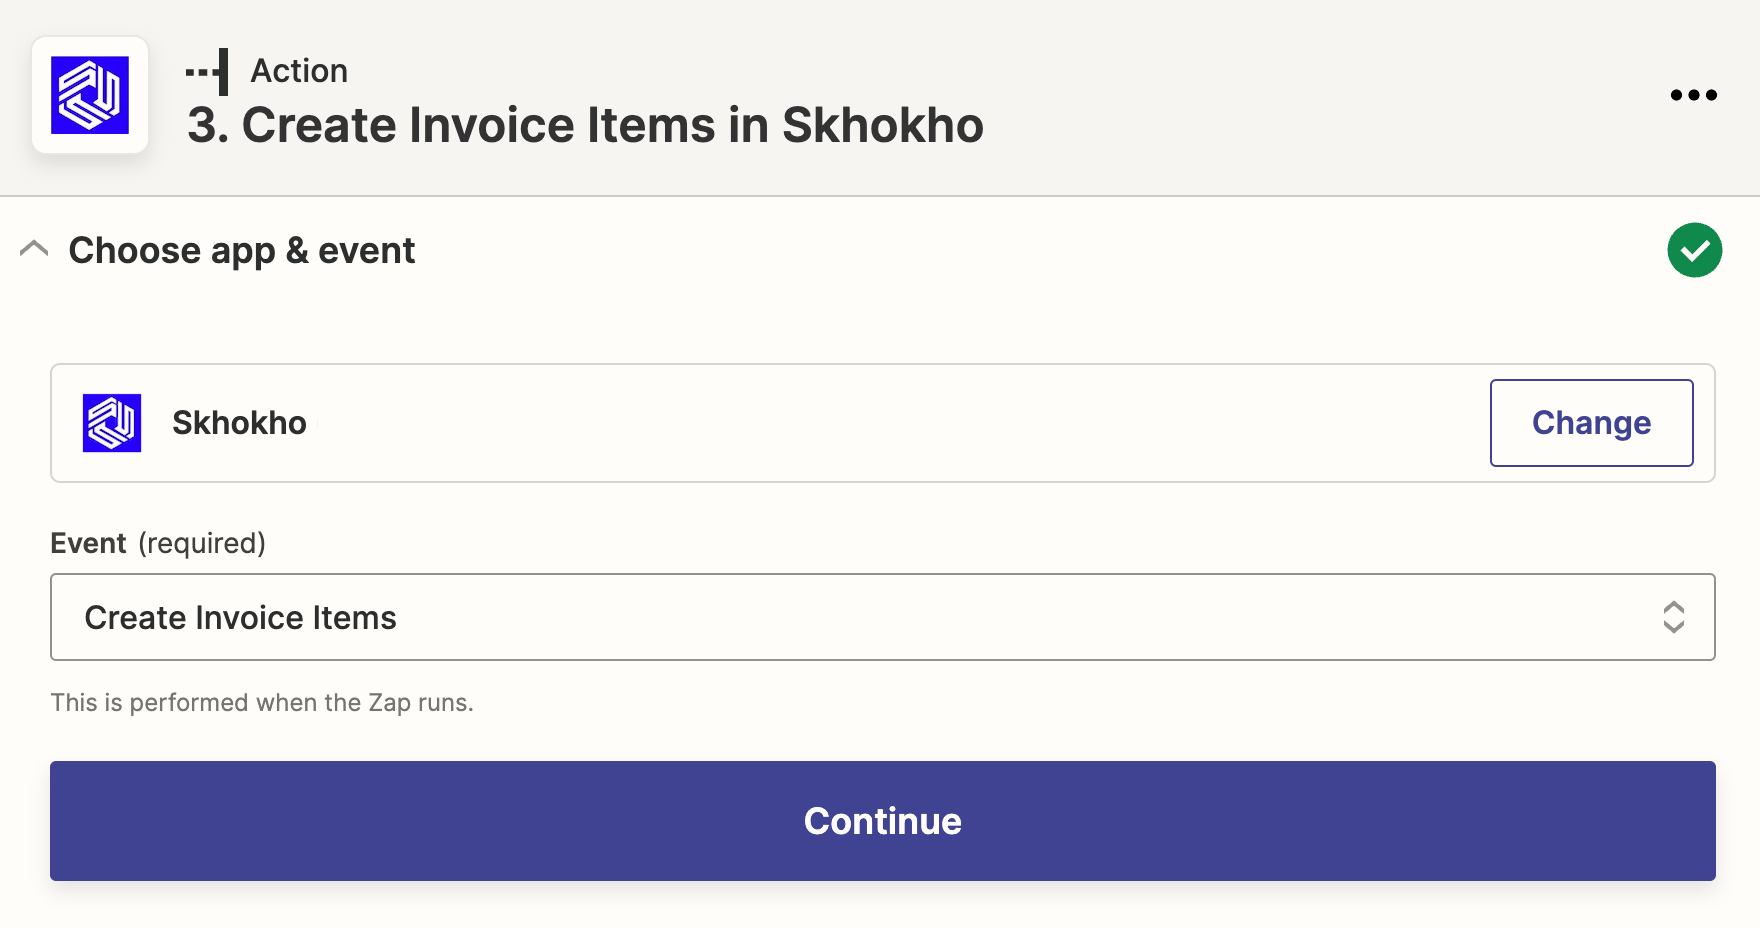
- The App is - Skhokho
- The Action is - Create Invoice Items
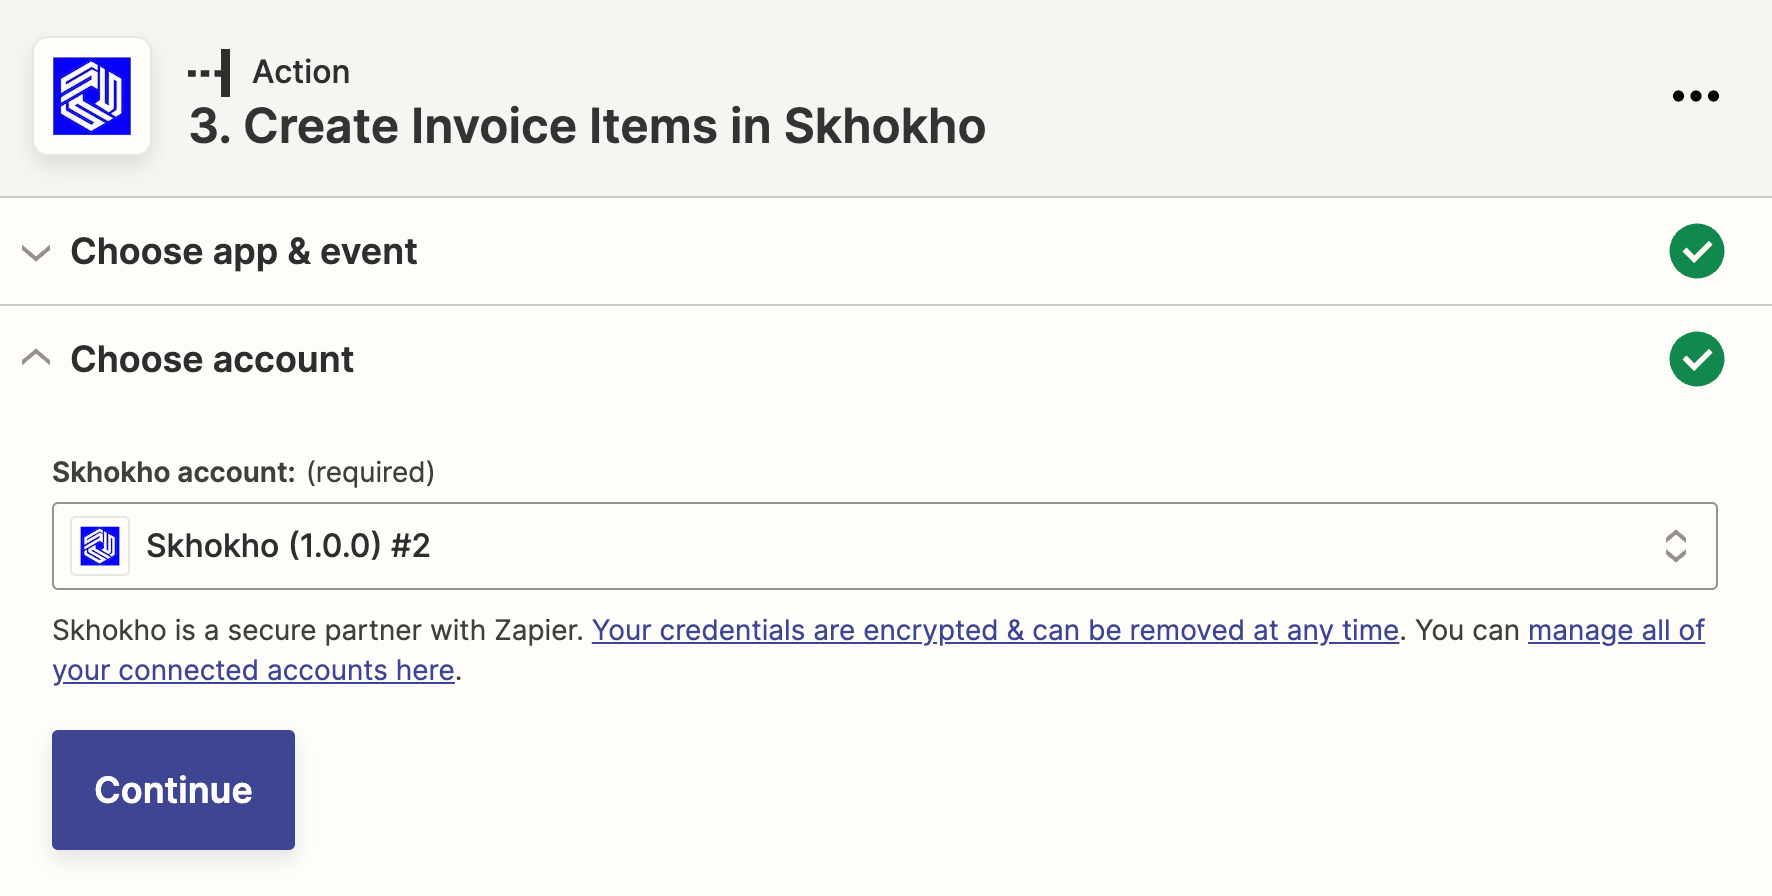
- Action 2: Choose Account
Log in to your Skhokho Account (If you do not have one, you can create one for free here (opens new window).)
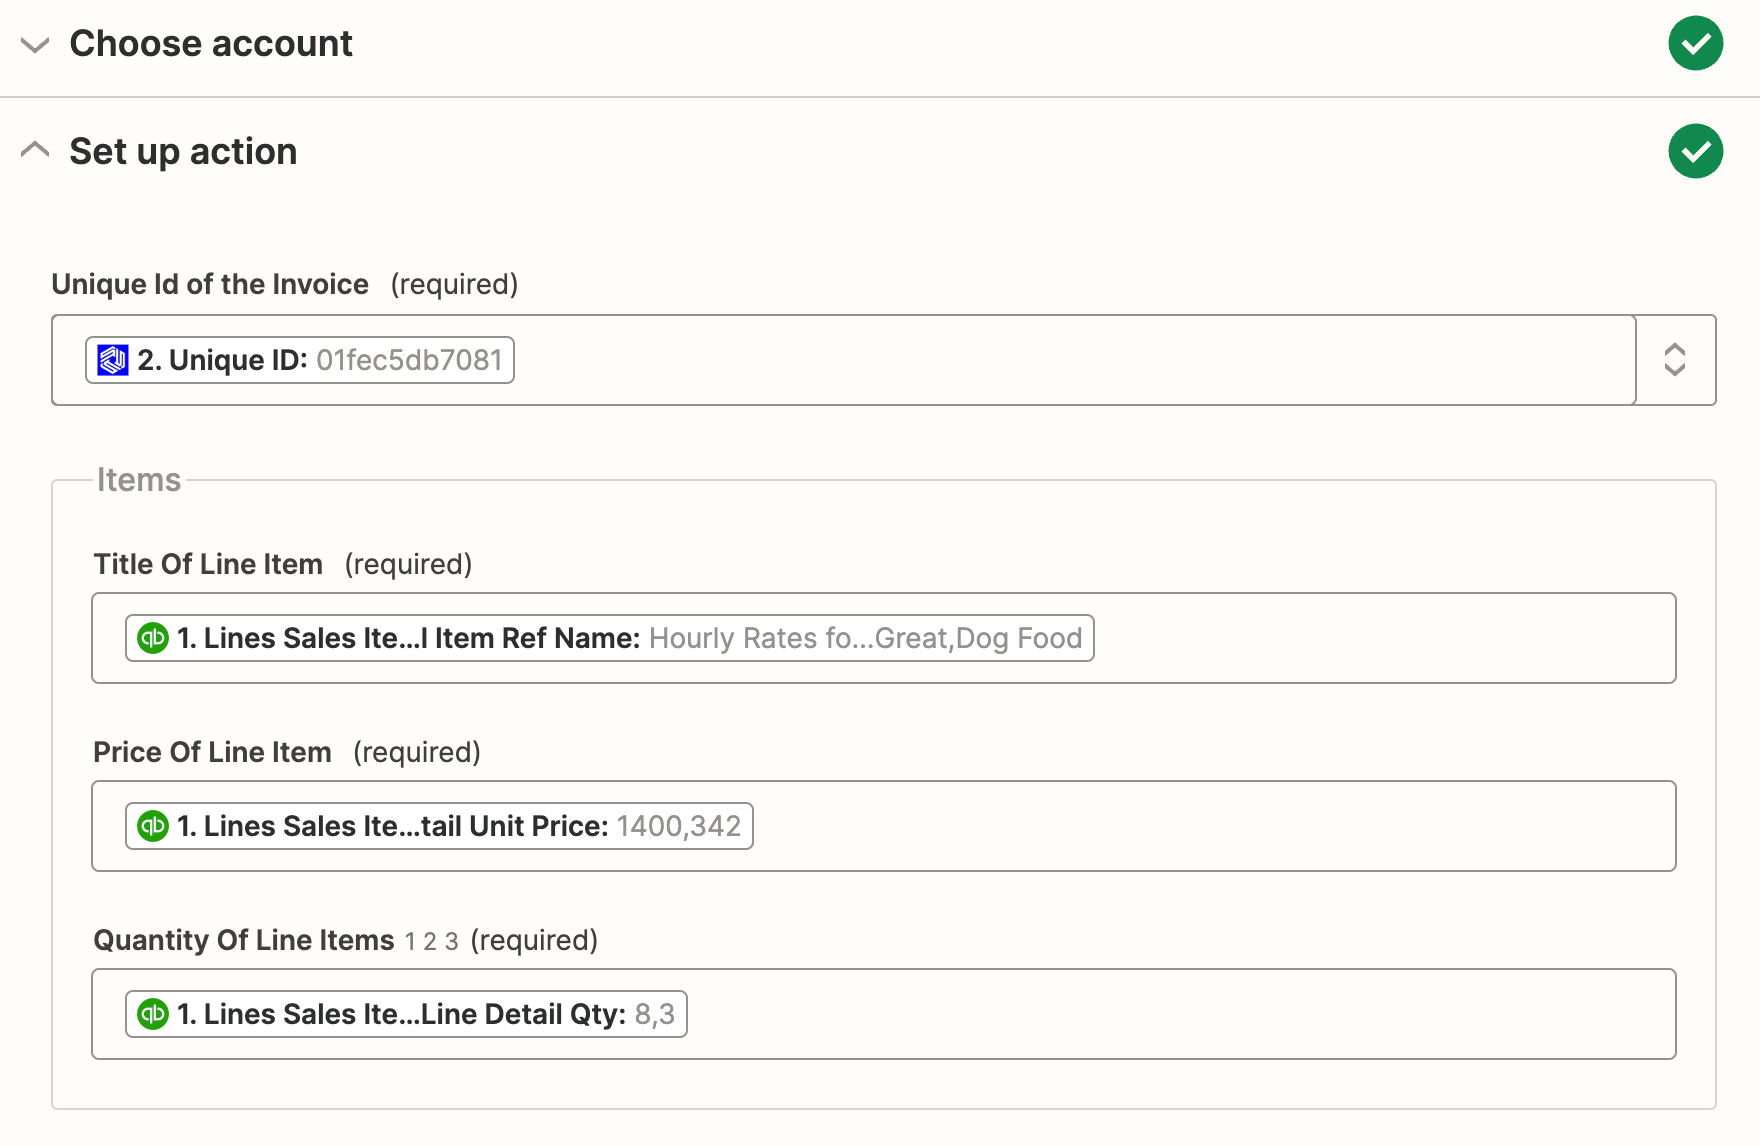
- Action 2: Set-up Action
Map all the required fields for Skhokho with available data from Quickbooks Online. Make sure the required sections are completed and select the appropriate drop-down options - where applicable.
- Action 2: Test Action
Test the action, you should see a green tick if all is well with your ZAP.

You are good to go. Turn in your ZAP - The ZAP will trigger when a new Invoice is added to Quickbooks Online, and create the same invoice in Skhokho.