# Google Forms
TIP
This documentation only covers a few samples of possible integrations that can be done between Zapier and Skhokho and provides some sample ZAPS and Templates.
This is not an exhaustive list, use the documentation to see what is possible and create integrations that make sense for your business.
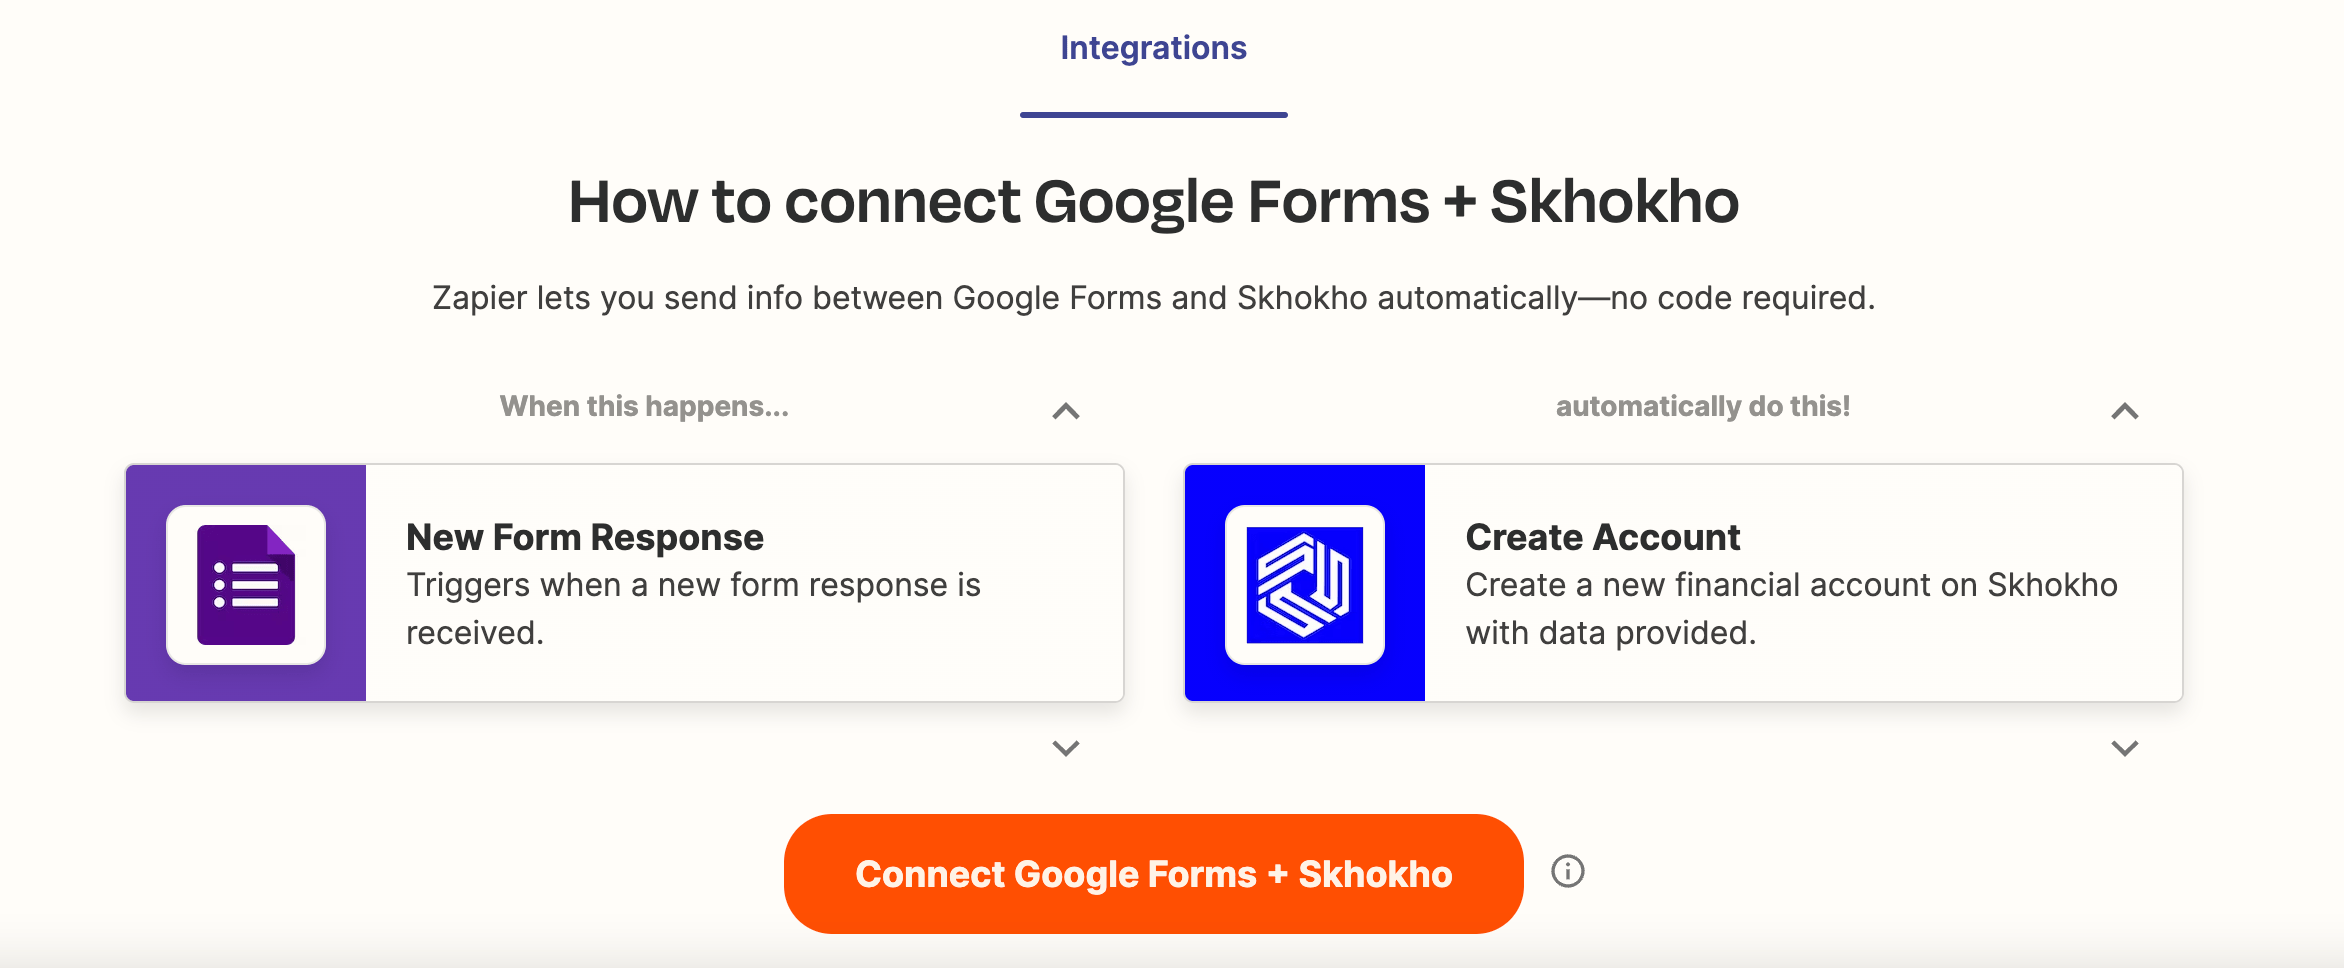
Google forms are great for integration with Skhokho Actions, they can be used to collect data for almost all of the available entities and integrate form submissions directly in to Skhokho. We have created some example ZAPS to illustrate how you can use Google Forms to collect data for your CRM.
# Google Forms - Add Contacts
Use this automation to save responses from a Google Form in to Skhokho CRM as contacts. What you need to get started:
- Google Forms account
- Create Google Form with the correct fields
- Zapier account
# Creating the Google Form
When creating the google form, the compulsory fields are:
- First Name
- Last Name
- Phone Number
- Email Address
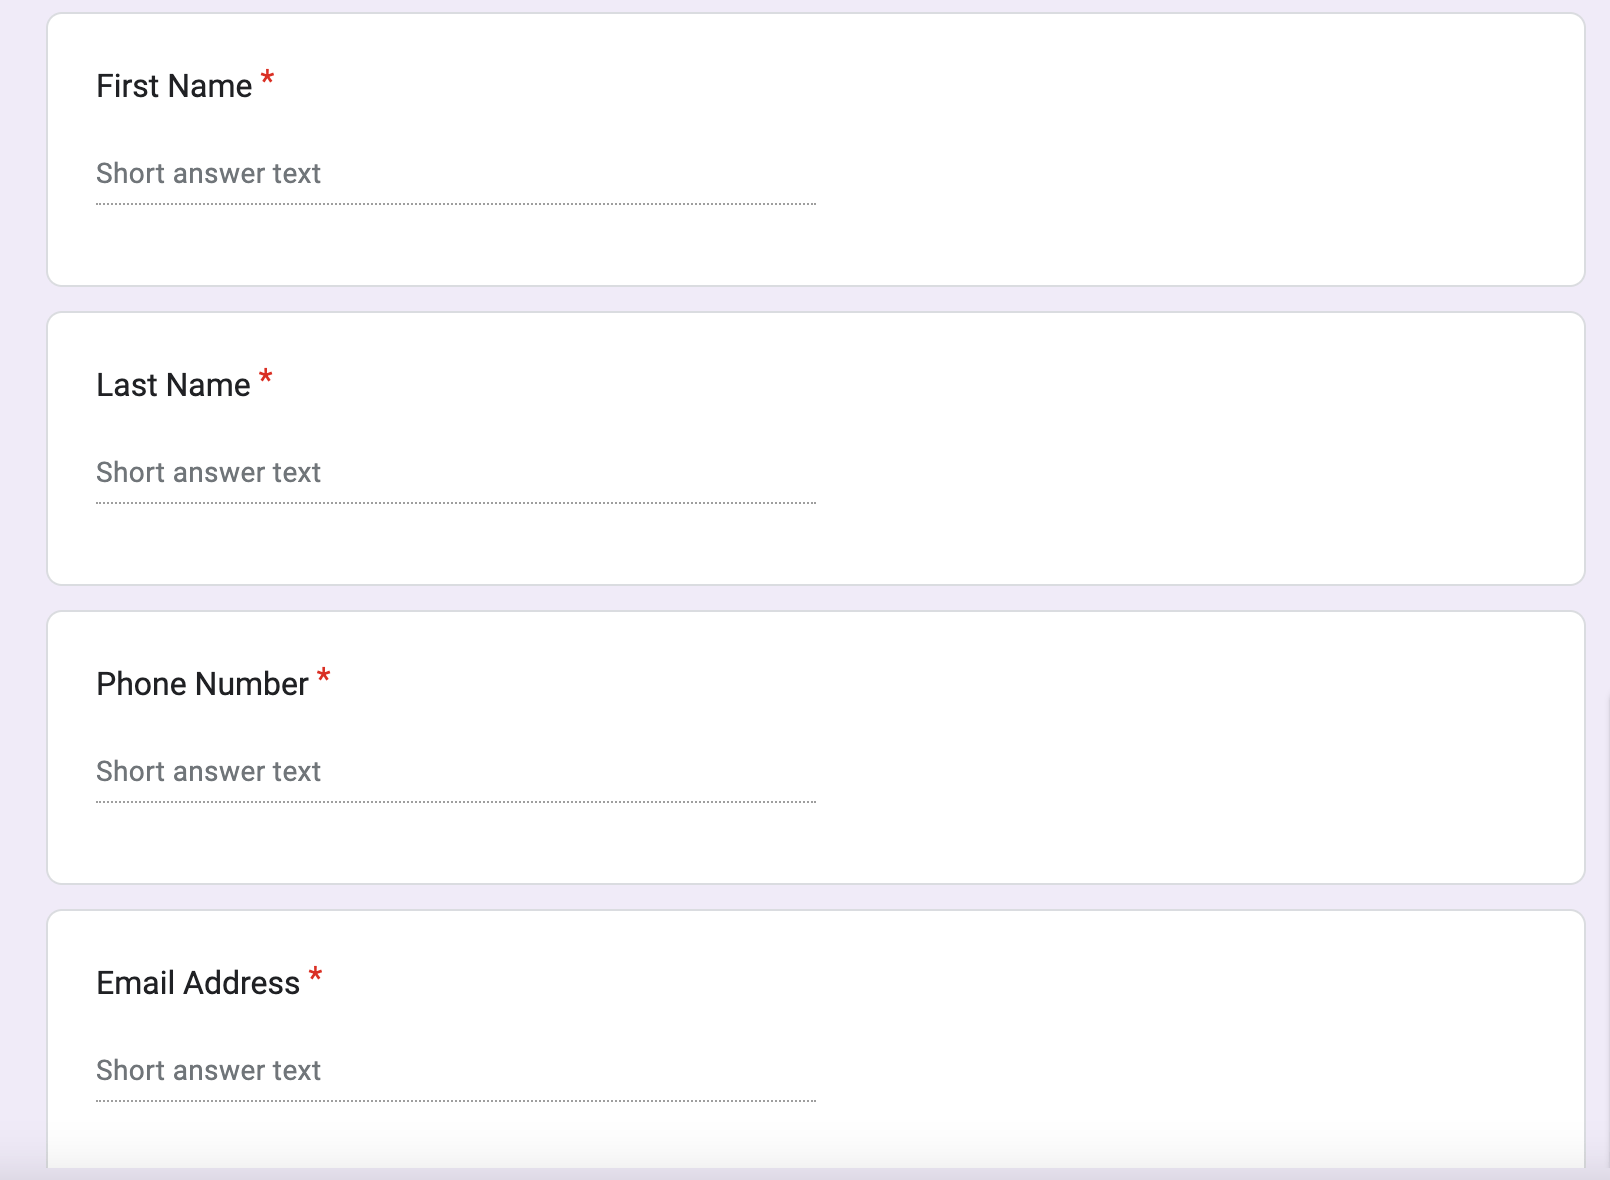
All the required fields can be - Short text, remember to mark them as required in the Google Form as well to prevent someone from submitting the form without completing all the required fields.
The rest of the fields are optional, read more about Contacts POST fields here (opens new window).
Use This Zap 👉🏽 Create Skhokho contacts from new Google Forms responses (opens new window).
# Trigger: Google Forms Submission
This automation will be triggered when someone submits the Google Form that was created to capture client information. Zapier Triggers have 4 Steps: (1) Choose App & Event, (2) Choose Account, (3) Set-up Trigger and (4) Test Trigger.
- Choose App & Event
This section should look like this 👇🏽👇🏽👇🏽
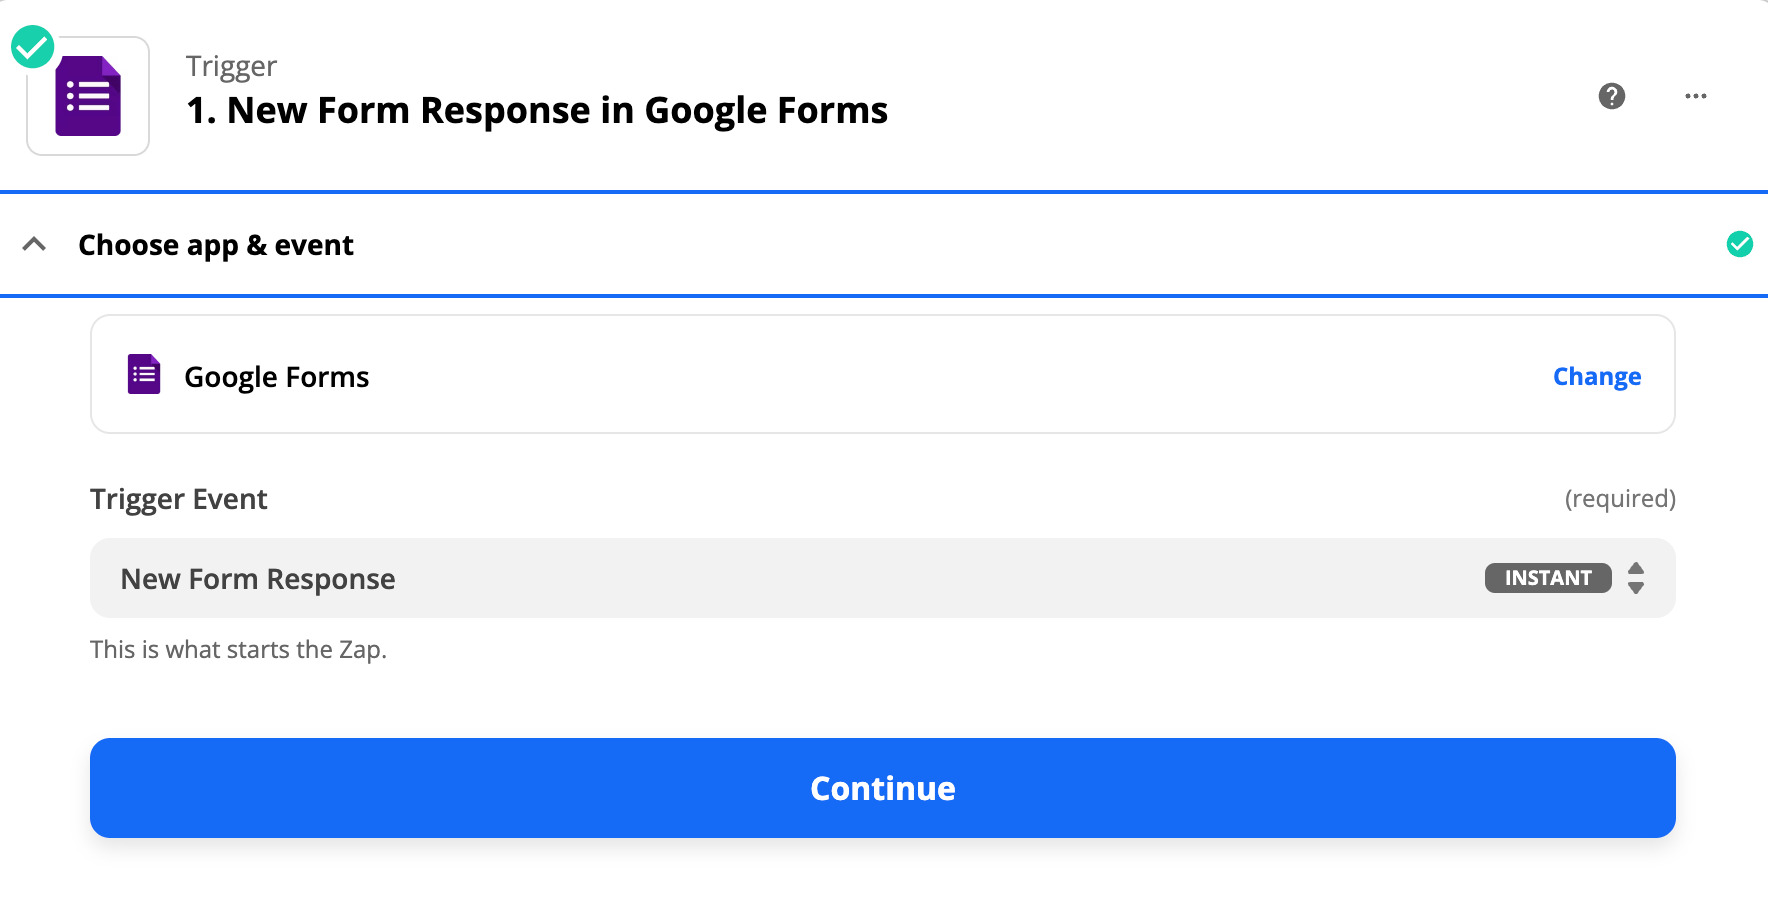
- The App is - Google Forms
- The Trigger is - New Form Response
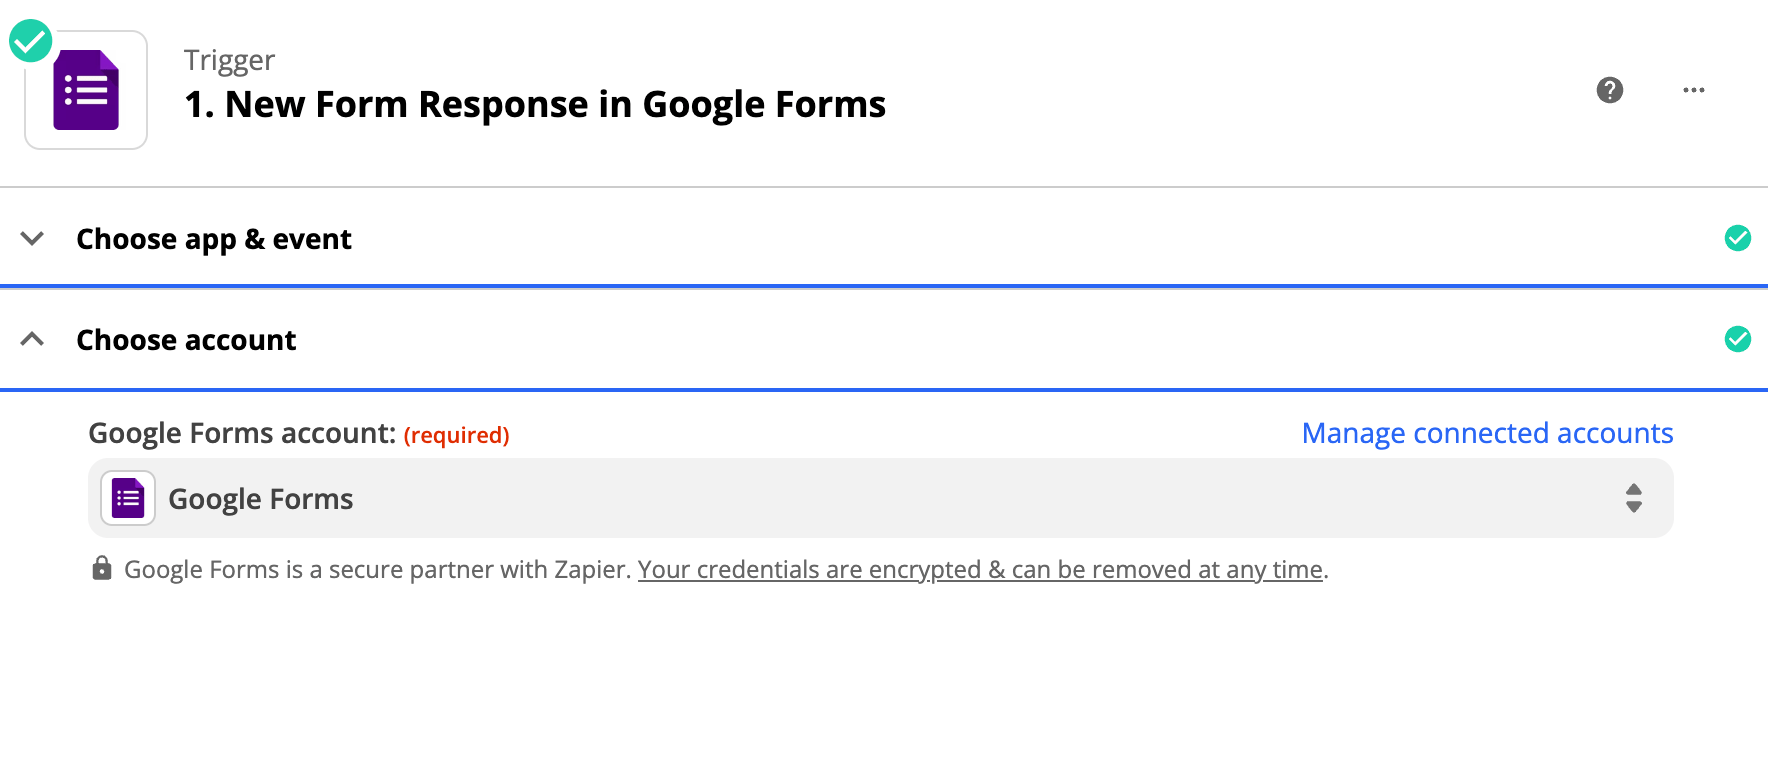
- Choose Account
Log in to your Google Forms Account
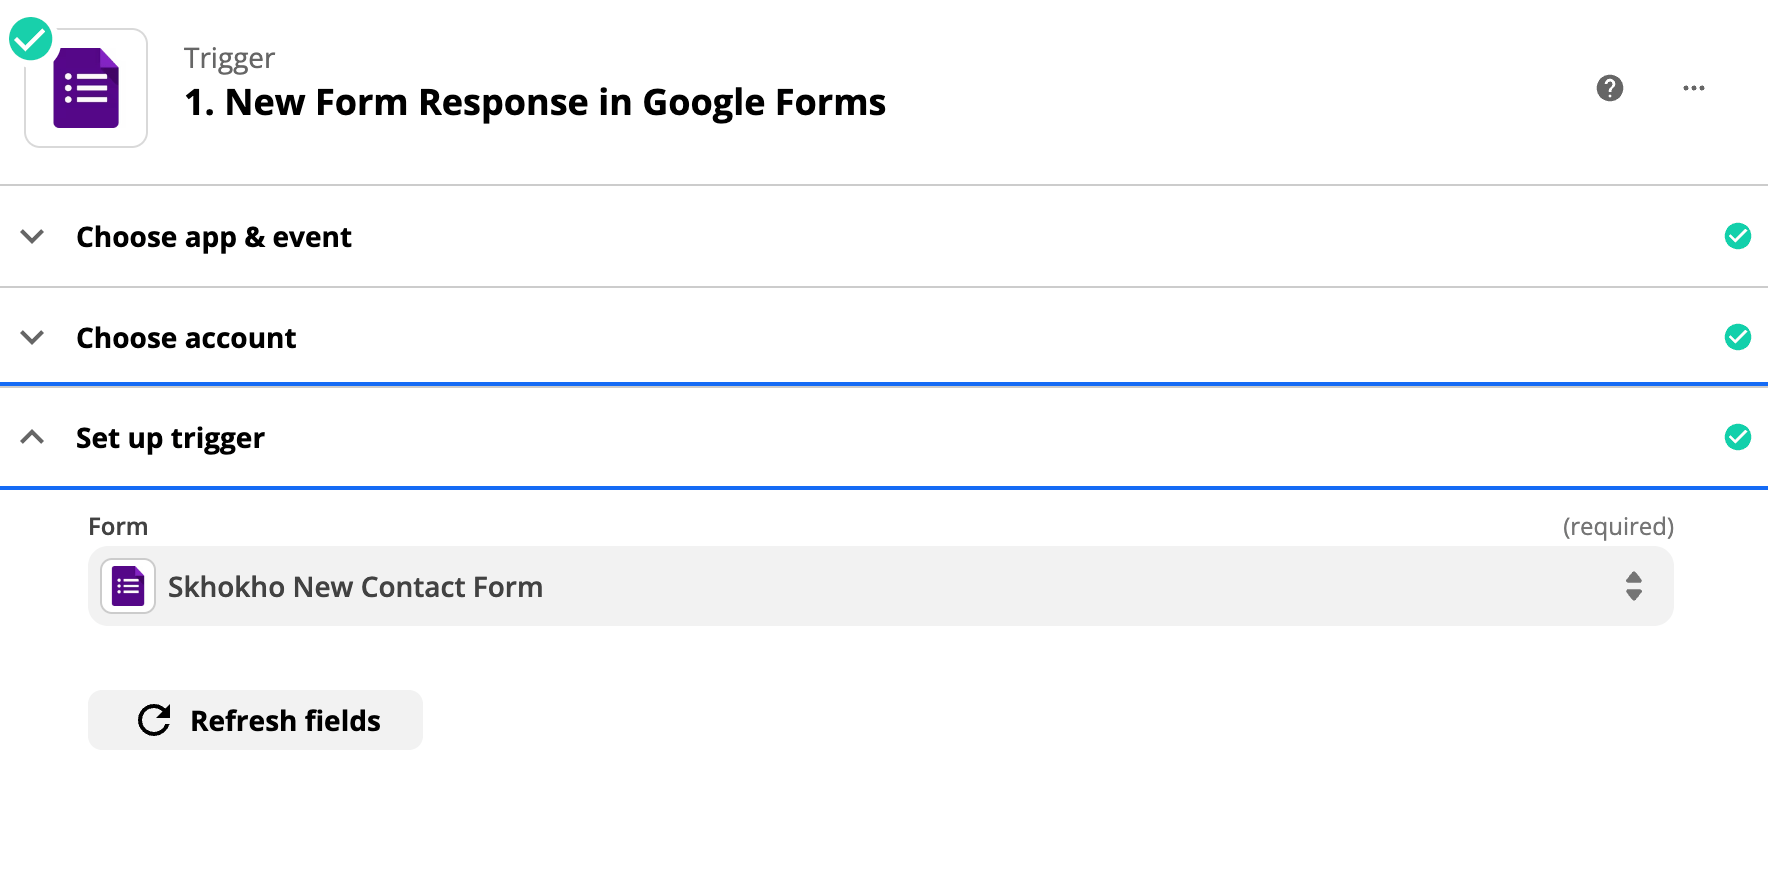
- Set-up Trigger
Select the Google Form in your account that you created to capture customer information as discussed above.
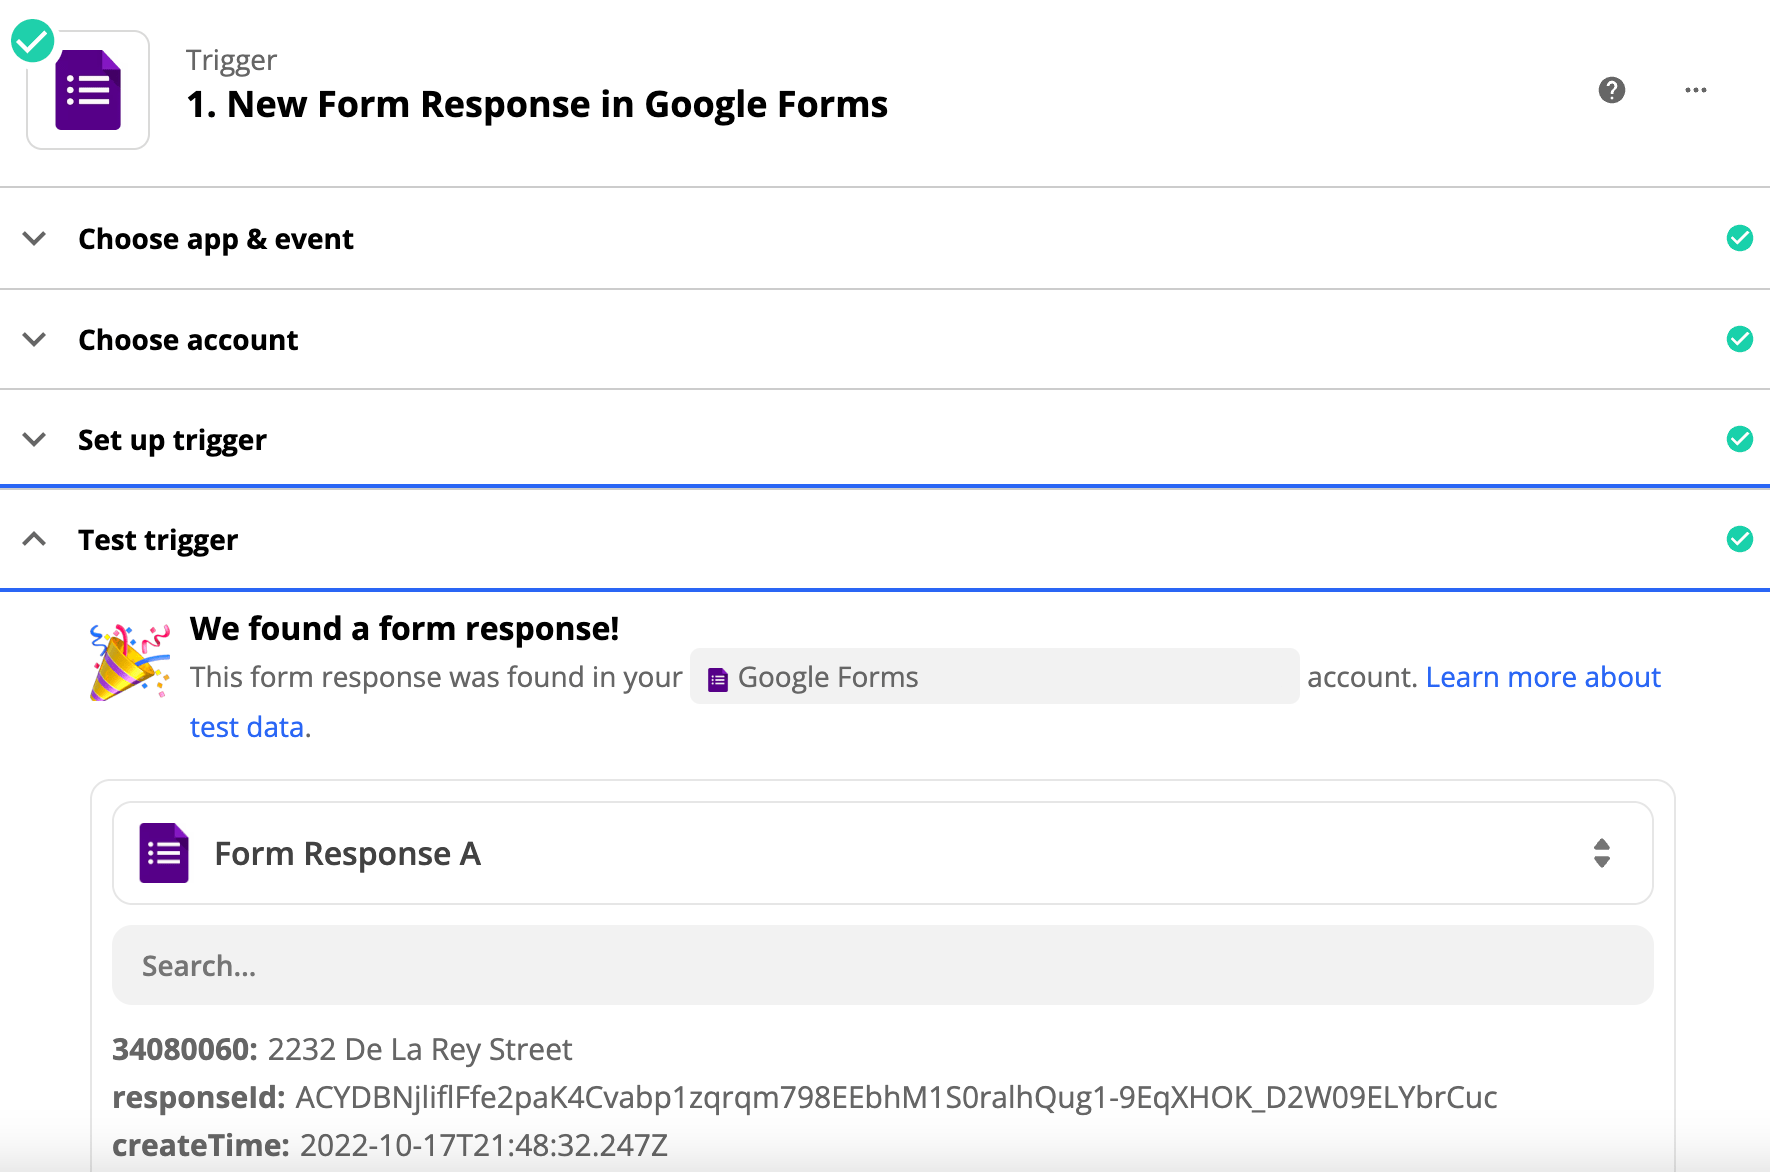
- Test Trigger
Move to the next page and "test trigger". If everything is OK, you can move on to setting up the action.
# Action: Skhokho 👉🏽 Create New CRM Contact
Zapier Actions have 4 Steps: (1) Choose App & Event, (2) Choose Account, (3) Set-up Action and (4) Test Action.
- Choose App & Event
This section should look like this 👇🏽👇🏽👇🏽
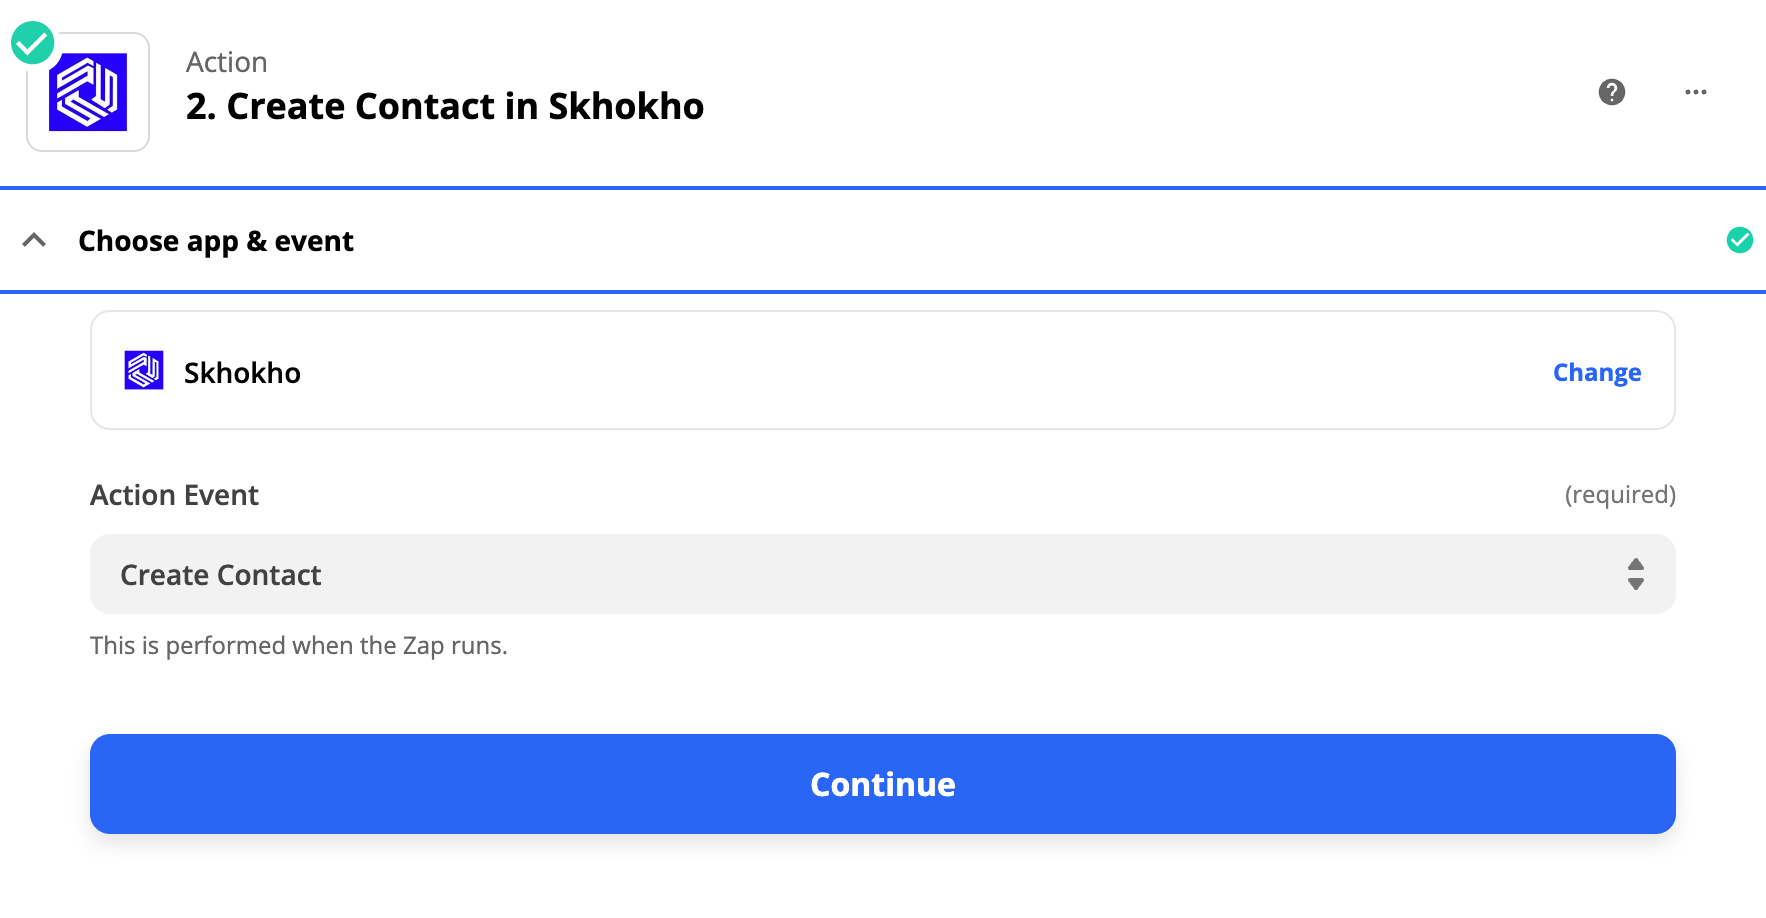
- The App is - Skhokho
- The Action is - Create Contact
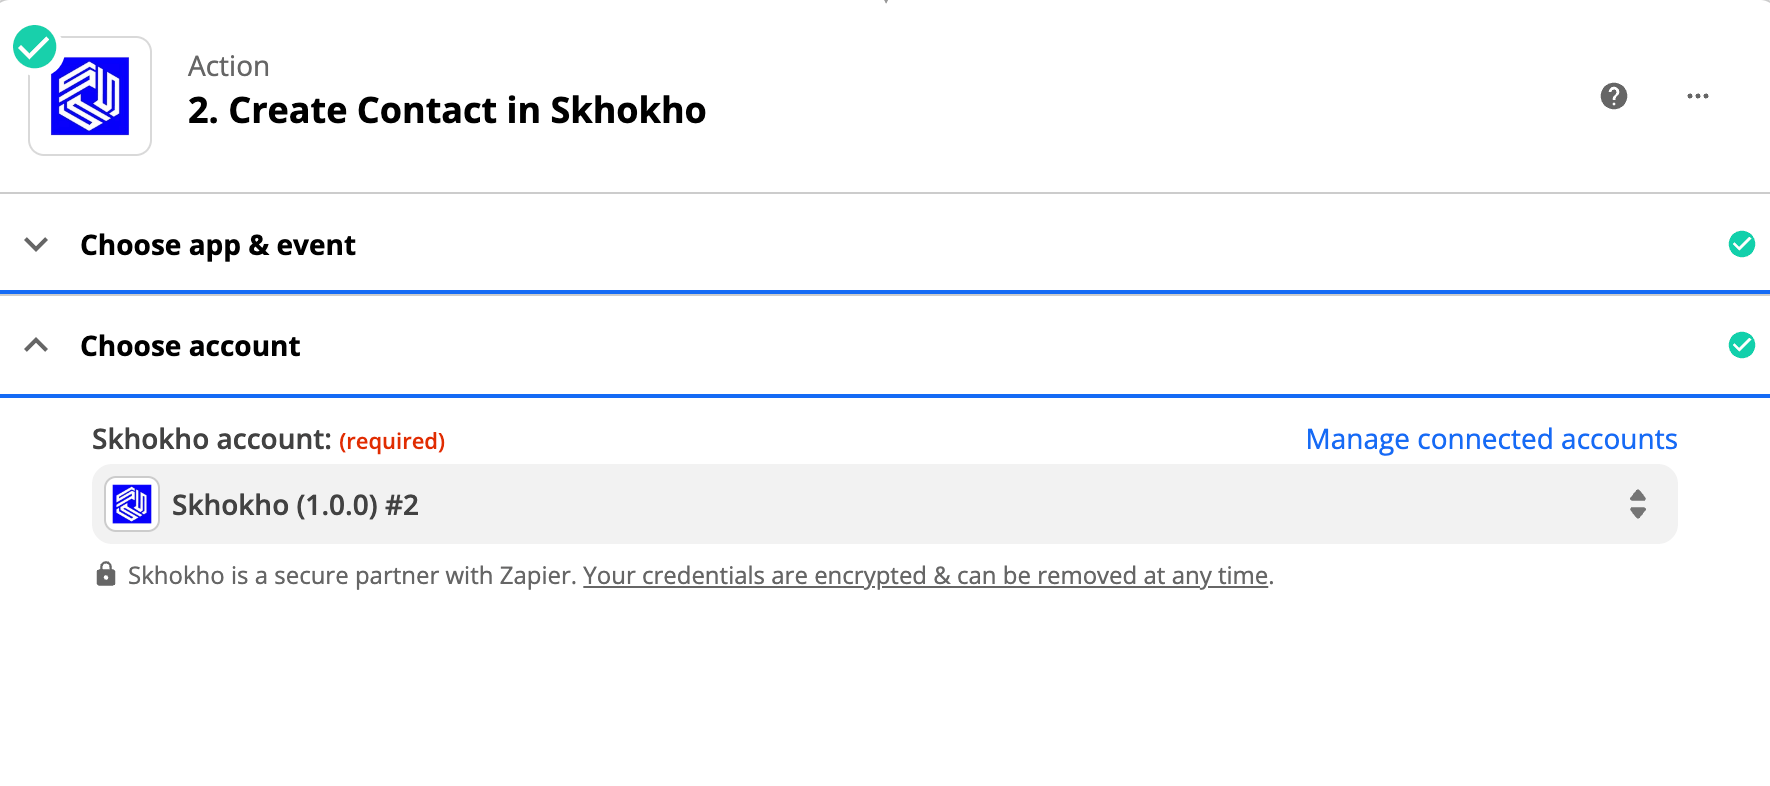
- Choose Account
Log in to your Skhokho Account (If you do not have one, you can create one for free here (opens new window).)
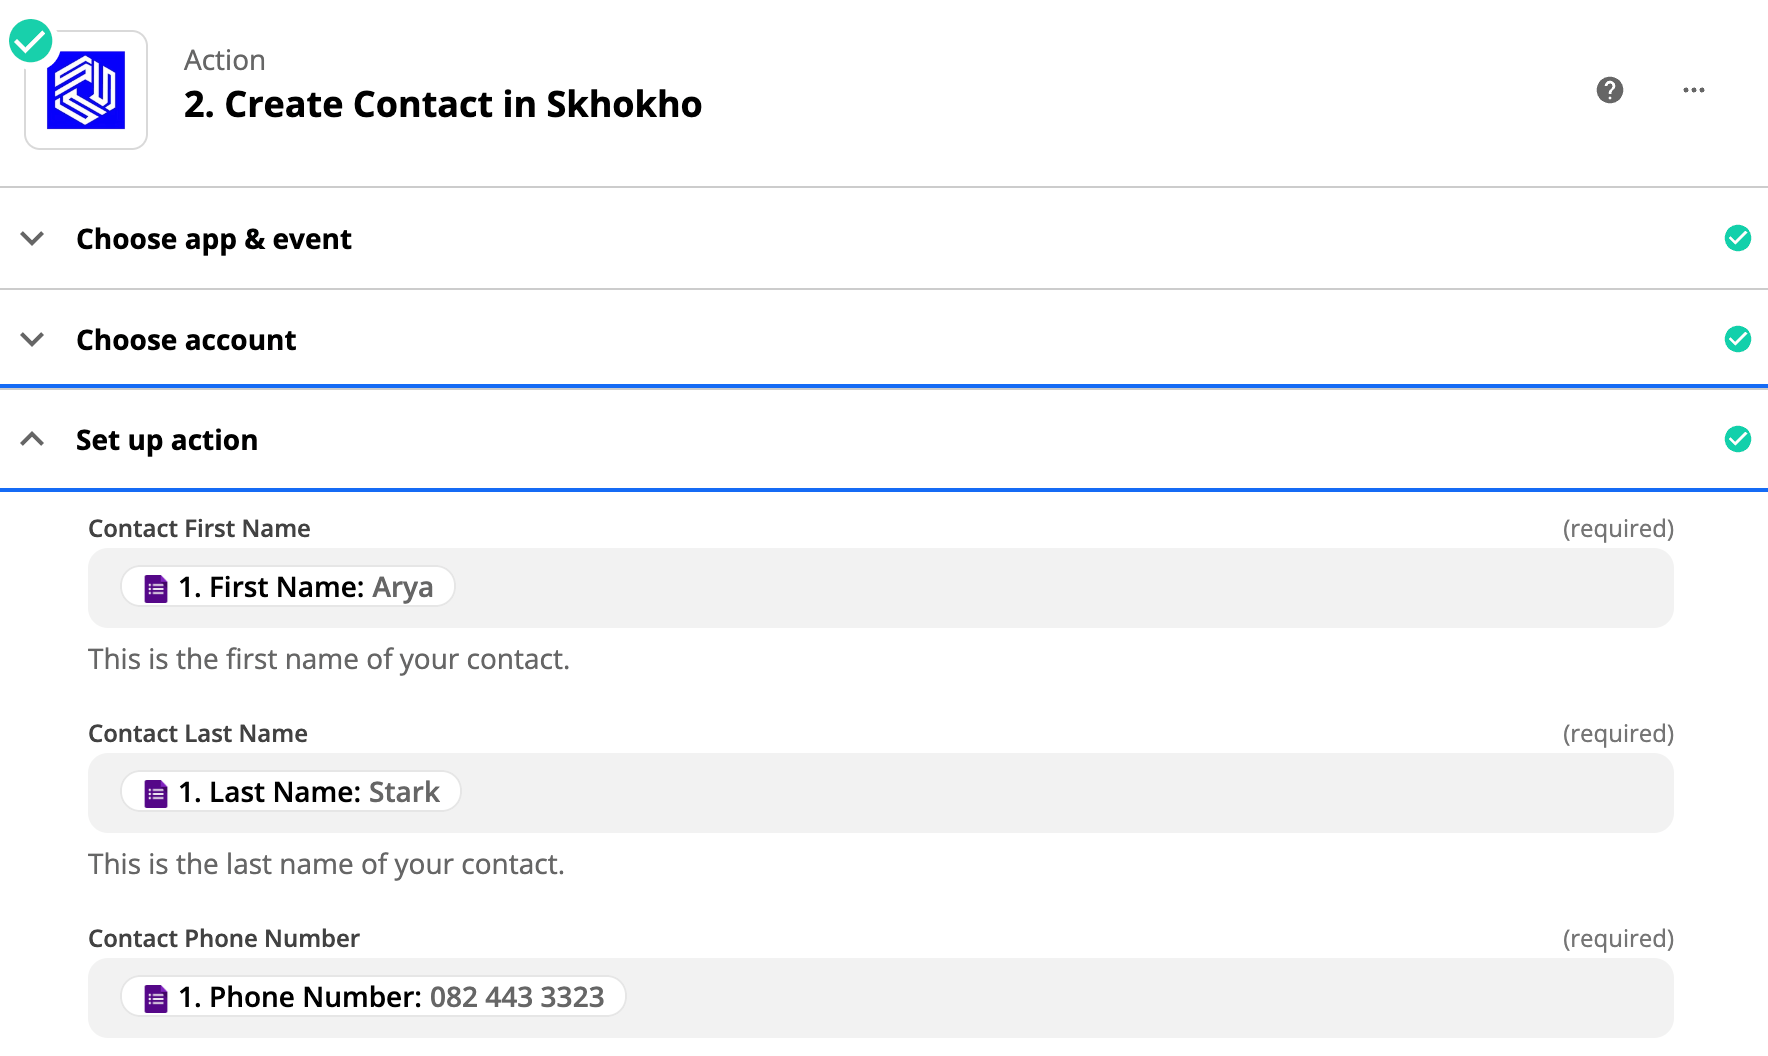
- Set-up Action
Map all the required fields for Skhokho with available data from Google Forms. Make sure the required sections are completed and select the appropriate drop-down options - where applicable.
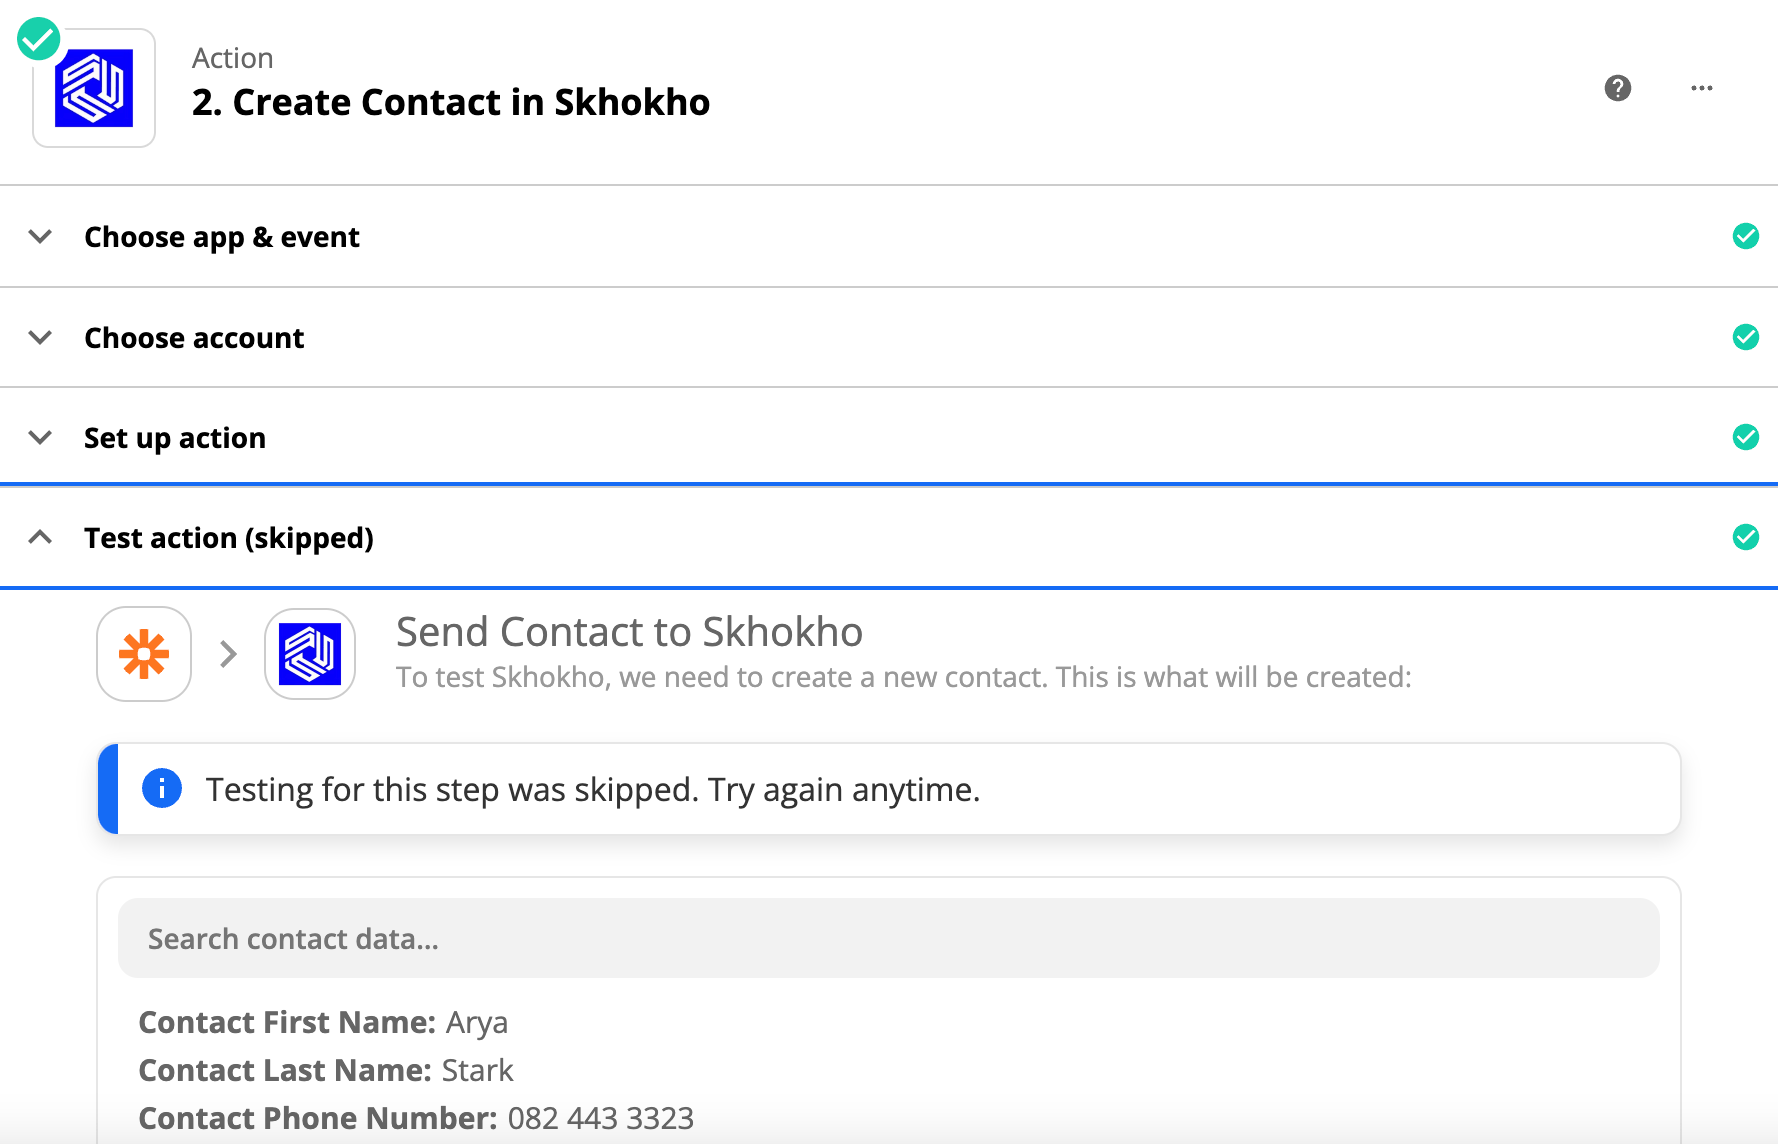
- Test Action
Test the action, you should see a green tick if all is well with your ZAP.
You are good to go. Turn in your ZAP - The ZAP will trigger when a new Google Form is created, and submit the information to Skhokho CRM as a Contact.